


")


Instructables user ahmedebeed555 found a way to build a DIY wind turbine from a cardboard roll. He explained how he did it in his post on the website. Ahmed successfully made a rotating simple wind turbine out of recycled materials.
Step 1: Materials and Tools


Materials:
- Motor – Wind turbine motor/generator. He used a 120 Volt permanent
- Motor/Generator from Amazon
- Blades – Cardboard roll cut into airfoil shapes to make the blades.
- Pole – old steel mop — This is the main pole for the DIY wind turbine
- Rudder – He used an old CD-Rom player metal cover as a directing rudder. It will help wind turbine to automatically direct itself through all wind situations.
- Generator Protection- A PET bottle was used to cover and protect the motor from dust and water.
- Some Wires
- Tie raps
Tools:
- Saw
- Pliers
- Nails
- Pen
Step 2: Generator Pole


First of all, take the PET bottle. You will need it in order to make a motor cover. Cut the bottle in two halves and cover the motor with them. Use a solder iron to shrink the bottle around the motor.
Next, install a directional rudder, an old CD-Rom player metal cover, that can direct the DIY wind turbine automatically. He connected the cover to the turbine using tie raps.
After that, install the generator or motor to the pole, again using tie raps around it, and connect a long wire to its terminals.
In order to test the system later, connect an LED.
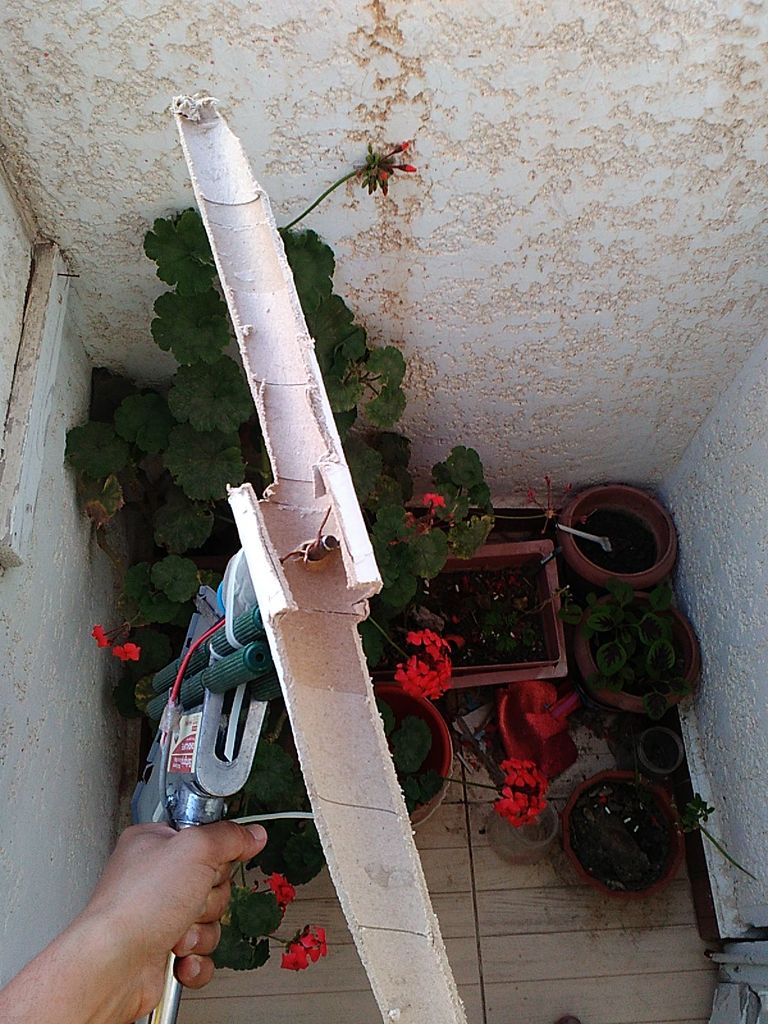
Step 3: Blades


In order to complete this step successfully he drawn the blades on the same side of the cardboard roll. This gave him the easiest blades shape he could imagine.
Step 4: Final Assembly
Install each set of blades on the rotor for a test. The blades can be attached to the rotor using 2mm copper wire.
Step 5: Test Your DIY Wind Turbine

Finally, he put his DIY wind turbine into the air and waited for the wind. He could successfully power the LED, but the same setup can be used to charge a battery or to power some of your electronic devices.
[all pictures (c) ahmedebeed555/Instructables/CC BY-NC-SA]


